
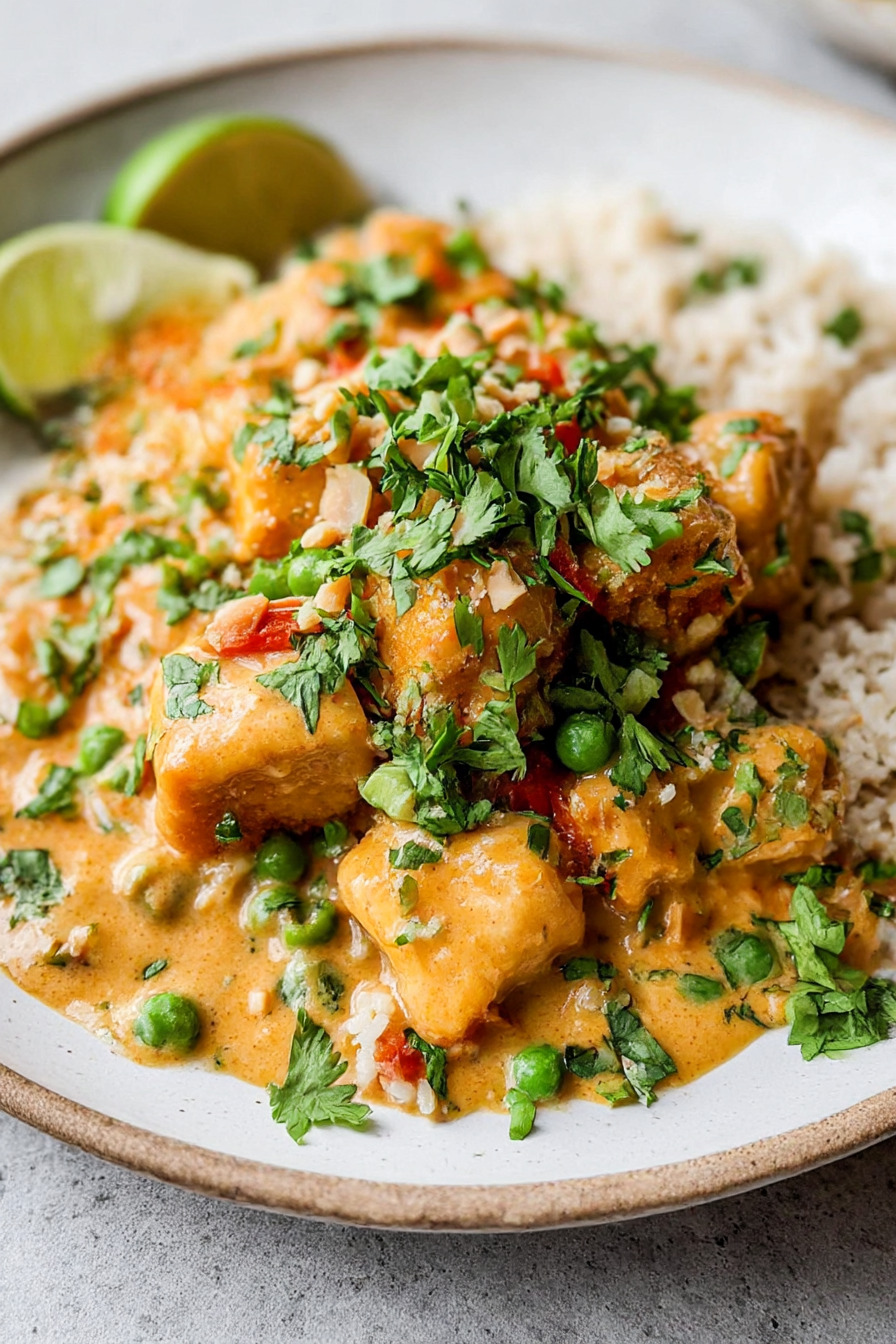
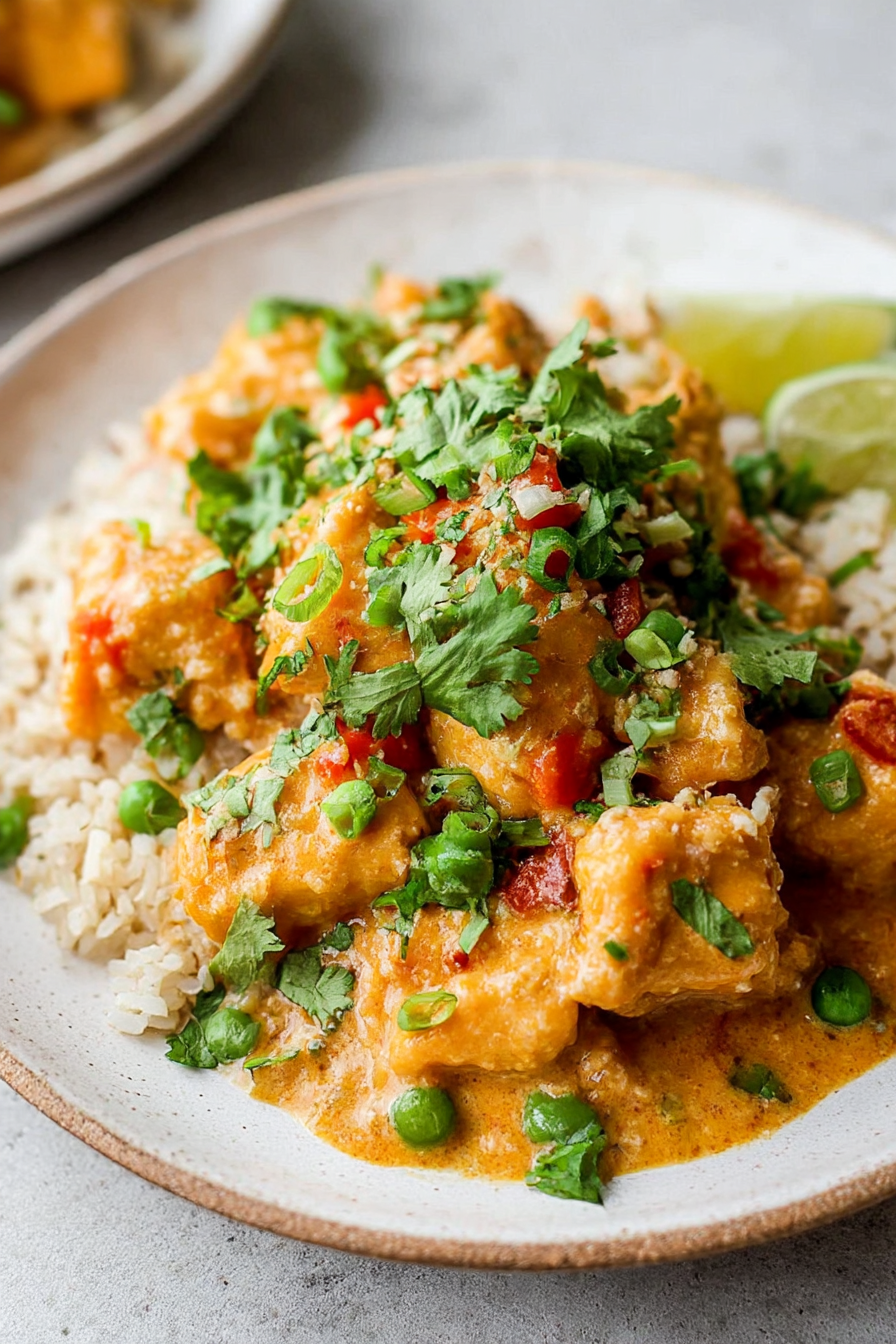
The vibrant, nutty aroma of **Thai Peanut Chicken** fills the air, a promise of the delightful symphony of flavors about to explode on your palate. This isn’t just a meal; it’s a culinary adventure that whisks you away to a bustling Bangkok street food stall, all from the comfort of your kitchen.
Imagine tender chicken, bathed in a creamy peanut sauce, dancing with the tang of lime and a hint of chili heat. I remember the first time I tasted a dish like this; it was at a tiny restaurant tucked away on a rainy day. This recipe captures that magic. Get ready for a flavor explosion that will have you craving more!
- It’s incredibly easy to make, perfect for a quick weeknight dinner or an impressive weekend meal.
- The creamy, nutty, and slightly spicy sauce creates an unforgettable taste sensation that everyone will adore.
- The vibrant colors and textures make this dish visually appealing and perfect for sharing with friends and family.
- It’s versatile and pairs perfectly with rice, noodles, or even served over a crisp salad for a lighter option.
Ingredients for Thai Peanut Chicken
Here’s what you’ll need to make this delicious dish:
The full ingredients list, including measurements, is provided in the recipe card directly below.
How to Make Thai Peanut Chicken
Follow these simple steps to prepare this delicious dish:
Step 1: Prepare the Chicken
Cut the chicken breasts into bite-sized pieces. In a bowl, lightly season the chicken with salt and pepper.
Step 2: Cook the Chicken
Heat a tablespoon of vegetable oil in a large skillet or wok over medium-high heat. Add the chicken and cook until browned and cooked through, about 5-7 minutes. Remove the chicken from the skillet and set aside.
Step 3: Make the Peanut Sauce
In the same skillet, combine the peanut butter, soy sauce, lime juice, honey, minced garlic, grated ginger, chili garlic sauce, rice vinegar, sesame oil, and vegetable broth. Whisk together until smooth and heated through.
Step 4: Combine and Simmer
Add the cooked chicken back to the skillet with the peanut sauce. Stir to coat the chicken evenly. Simmer for 5-10 minutes, allowing the sauce to thicken slightly and the flavors to meld.
Step 5: Serve and Garnish
Serve the Thai Peanut Chicken over cooked rice. Garnish with sliced green onions and sesame seeds.
Step 6: Enjoy!
Transfer to plates and get ready for an explosion of flavor. This Thai Peanut Chicken is sure to be a crowd-pleaser.
Perfecting the Cooking Process
The secret to amazing Thai Peanut Chicken lies in timing. Sear the chicken pieces first to lock in those delicious juices. While the chicken rests, get your rice or noodles cooking. This ensures everything finishes around the same time, ready to be devoured. Then, whip up that peanut sauce, because fresh is always best!
Add Your Touch
Feel like switching things up? Go for it! Try adding a splash of lime juice for extra zing. Broccoli, bell peppers, or even some shredded carrots can boost the veggie content. Don’t be shy with the spices! A pinch of red pepper flakes can bring some heat if you’re feeling bold. This dish is your canvas.
Storing & Reheating
Got leftovers? Lucky you! Store your Thai Peanut Chicken in an airtight container in the refrigerator for up to three days. To reheat, simply microwave it until warmed through or gently heat it in a skillet on the stovetop, adding a splash of broth or water if needed to prevent drying.
- Marinate the chicken for at least 30 minutes, or even overnight, to infuse it with flavor before cooking.
- Don’t overcook the chicken. It should be cooked through but still tender and juicy, not dry and rubbery.
- Taste and adjust the peanut sauce as you go. Balance the flavors by adding more soy sauce, honey, or lime juice.
(Personal anecdote formated as paragraph subheading (very important! don’t write any title for this paragraph))
I remember the first time I made this for a potluck. Everyone raved about it, and the dish was completely empty by the end of the night. Talk about a confidence boost!
Conclusion for Thai Peanut Chicken :
This Thai Peanut Chicken recipe is a guaranteed crowd-pleaser, offering a delightful balance of savory, sweet, and nutty flavors. Whether you’re a seasoned cook or a kitchen novice, this dish is easy to make and incredibly satisfying. Its versatility allows for endless customization – adjust the spice level, swap out the vegetables, or use different nut butters to create your own signature version. So, gather your ingredients, put on some music, and get ready to enjoy a taste of Thailand in your own home!
Print
Thai Peanut Chicken
Delicious thai peanut chicken recipe with detailed instructions and nutritional information.
- Total Time: 35 minutes
- Yield: 4 servings
Ingredients
- Chicken breasts: 1.5 lbs, cut into 1-inch pieces
- Peanut butter: 1/2 cup, creamy or crunchy
- Soy sauce: 1/4 cup, low sodium
- Honey: 2 tablespoons
- Rice vinegar: 2 tablespoons
- Garlic: 2 cloves, minced
- Ginger: 1 teaspoon, grated
- Red pepper flakes: 1/4 teaspoon (optional)
Instructions
- Step 1: In a medium bowl, whisk together peanut butter, soy sauce, honey, rice vinegar, garlic, ginger, and red pepper flakes (if using).
- Step 2: Add the chicken pieces to the bowl and toss to coat evenly with the peanut sauce.
- Step 3: Heat a large skillet or wok over medium-high heat. Add the chicken and sauce to the skillet.
- Step 4: Cook the chicken for 6-8 minutes, or until the chicken is cooked through and the sauce has thickened, stirring occasionally.
- Step 5: Serve hot over rice or noodles. Garnish with chopped peanuts and cilantro, if desired.
Notes
- Store leftovers in an airtight container in the refrigerator for up to 3 days.
- For best results when reheating, add a splash of water or chicken broth to prevent the sauce from drying out.
- Serve this flavorful chicken over jasmine rice with a sprinkle of sesame seeds and a side of steamed broccoli.
- For extra depth of flavor, toast the peanut butter in the skillet for a minute before adding other sauce ingredients.
- Prep Time: 15 minutes
- Cook Time: 20 minutes
- Method: Stovetop
- Cuisine: American
FAQs :
Can I use a different kind of nut butter in this Thai Peanut Chicken recipe?
Absolutely! While peanut butter gives this dish its classic flavor, you can definitely experiment. Almond butter or cashew butter are fantastic substitutes. Just be aware that they might alter the taste slightly. Almond butter tends to be a bit more earthy, while cashew butter is sweeter and more mild. Sunflower seed butter is also an option if you have nut allergies. Just remember to choose a creamy variety for the best texture in your sauce. It is a fun way to customize this tasty dish!
How can I make this Thai Peanut Chicken spicier?
If you’re craving some extra heat, there are several ways to kick up the spice level. A pinch of red pepper flakes is an easy addition, stirring them directly into the peanut sauce. Or, you can add a finely minced fresh chili, like a bird’s eye chili, for a more intense burn. Sriracha or chili garlic sauce are also great options, allowing you to control the heat level to your preference. Start with a small amount and taste as you go, adding more until you reach your desired spice level.
What are some good side dishes to serve with this Thai Peanut Chicken?
This flavorful chicken dish pairs wonderfully with a variety of sides. Steamed rice is a classic choice, providing a neutral base to soak up the delicious peanut sauce. Quinoa or brown rice are healthier alternatives if you’re watching your carbs. For a lighter option, consider a fresh cucumber salad with a tangy vinaigrette. Stir-fried vegetables like broccoli, bell peppers, and snow peas also complement the dish perfectly, adding color and nutrients to your meal.
How do I store leftovers of this Thai Peanut Chicken?
Proper storage will keep your leftovers fresh and delicious. Allow the chicken to cool completely before transferring it to an airtight container. Store it in the refrigerator and it should last for 3-4 days. Reheat gently in a skillet over medium heat or in the microwave. Adding a splash of broth can help to rehydrate the chicken and sauce. Be sure to heat it thoroughly before serving. You can enjoy it as is or serve it over rice or noodles.


Leave a Comment