
Imagine a flavor so playful, so vibrant, it makes your taste buds do a happy dance. That’s precisely what you get with Creamy Homemade Bubblegum Ice Cream. It’s nostalgia in a scoop, a sweet escape back to childhood summers.
This isn’t just ice cream; it’s a spoonful of sunshine and smiles, a vibrant pink promise of pure, unadulterated joy. This recipe brings back memories of carefree days and sticky fingers, reimagined into a delicious, homemade treat perfect for any occasion.
Here’s why you absolutely *need* this recipe in your life:
- Effortlessly simple, even a kitchen novice can whip up a batch of this creamy delight with minimal fuss.
- The explosion of sweet, bubblegum flavor is perfectly balanced with a smooth, velvety texture.
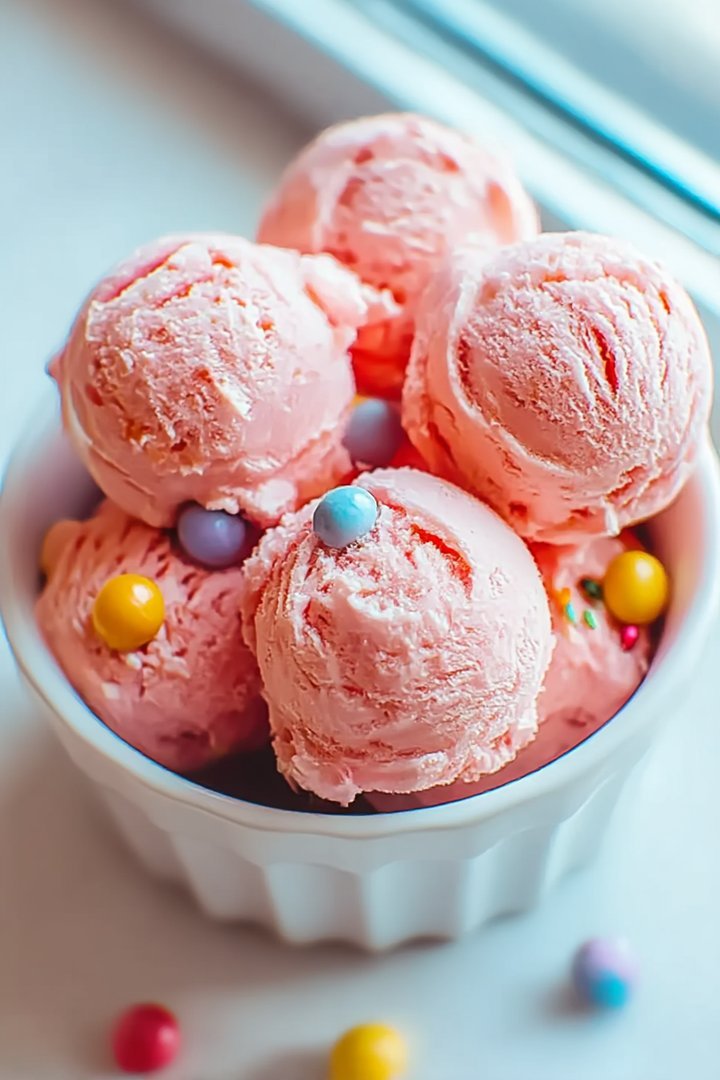
- Its vibrant pink hue and fun flavor make it a guaranteed hit at parties, gatherings, or any day that needs a little sparkle.
- Customize your creation by adding chunks of your favorite candy or swirling in colorful sprinkles for extra flair and a personalized touch.
Ingredients for Creamy Homemade Bubblegum Ice Cream
Here’s what you’ll need to make this delicious dish:
The full ingredients list, including measurements, is provided in the recipe card directly below.
How to Make Creamy Homemade Bubblegum Ice Cream
Follow these simple steps to prepare this delicious dish:
Step 1: Prepare the Agar-Agar Solution
In a small saucepan, mix the agar-agar powder with a quarter cup of water. Let it sit for about 5 minutes to bloom. Then, heat the mixture over medium heat, stirring constantly, until the agar-agar is completely dissolved. Remove from heat and set aside to cool slightly. This solution will help to prevent ice crystals from forming in your ice cream.
Step 2: Combine the Base Ingredients
In a large bowl, whisk together the heavy cream, whole milk, and granulated sugar until the sugar is fully dissolved. Make sure there are no gritty bits remaining. This creates the foundation for our creamy, dreamy bubblegum ice cream.
Step 3: Infuse with Bubblegum Flavor
Add the bubblegum extract to the cream mixture. Start with a teaspoon and taste. If you want a stronger bubblegum flavor, add more, a little at a time, until it reaches your desired intensity. Next, if you’re using it, add the pink food coloring, a few drops at a time, until you achieve your desired shade of pink. Remember, a little goes a long way!
Step 4: Incorporate the Agar-Agar
Slowly pour the cooled agar-agar solution into the cream mixture, whisking constantly to ensure it is evenly distributed. This step is crucial for achieving that perfect, creamy texture.
Step 5: Chill the Mixture
Cover the bowl with plastic wrap, pressing it directly onto the surface of the mixture to prevent a skin from forming. Refrigerate for at least 4 hours, or preferably overnight. This chilling period allows the flavors to meld together and the mixture to become properly cold, which is essential for smooth ice cream.
Step 6: Churn and Freeze
Pour the chilled mixture into your ice cream maker and churn according to the manufacturer’s instructions. This usually takes about 20-25 minutes, or until the ice cream reaches a soft-serve consistency.
Step 7: Harden and Enjoy
Transfer the churned ice cream to an airtight container and freeze for at least 2 hours, or until it is firm enough to scoop. This final freezing period allows the ice cream to harden and develop its full flavor potential. Scoop into cones or bowls and enjoy the nostalgic delight of Creamy Homemade Bubblegum Ice Cream! You can add sprinkles, candy pieces, or even a drizzle of melted chocolate for an extra special treat.
Perfecting the Cooking Process
To achieve ice cream nirvana, follow this sequence: First, prepare the custard base for your bubblegum dream. Next, churn the mixture until it reaches that perfect, creamy consistency. Finally, freeze to perfection to avoid icy surprises. This way, you’ll make the best creamy homemade bubblegum ice cream.
Add Your Touch
Feel free to go wild with customization! Swap out the alcohol-free vanilla extract for alcohol-free almond extract for a nutty twist. Or, for added texture, fold in some chopped candied fruit or colorful sprinkles. The possibilities are endless when creating your creamy homemade bubblegum ice cream.
Storing & Reheating
Store your creamy homemade bubblegum ice cream in an airtight container in the freezer for up to two weeks. There is no reheating required, unless you like ice cream soup! Just scoop and enjoy the refreshing bubblegum flavor whenever the craving hits.
Here are some tips to make the creamiest, dreamiest bubblegum ice cream ever:
- Don’t skimp on the chilling time for the custard base; a well-chilled base guarantees a smoother, less icy final product.
- Churn until the ice cream has a soft-serve consistency; it will firm up more in the freezer. Over-churning leads to butter!
- If you don’t have an ice cream maker, you can still make this by freezing the mixture and whisking it every 30 minutes for 2-3 hours.
(Personal anecdote formated as paragraph subheading (very important! don’t write any title for this paragraph))
The first time I made this, my little cousin declared it tasted like happiness. Honestly, that’s the best compliment a homemade dessert can get, right? It’s been a family favorite ever since!
The Sweet Symphony of Creamy Homemade Bubblegum Ice Cream: A Nostalgic Trip Down Memory Lane
Alright, folks, buckle up, because we’re about to embark on a culinary adventure that’s so delightfully retro, it’ll make your taste buds do the Lindy Hop. Forget your kale smoothies and your quinoa bowls for a minute; we’re diving headfirst into a technicolor dream of sugar, spice, and everything… bubblegum! That’s right, we’re talking about creamy homemade bubblegum ice cream.
Now, I know what you’re thinking. “Bubblegum ice cream? Isn’t that, like, for kids?” And to that, I say, “Absolutely! But also for adults who refuse to let go of their inner child!” Seriously, who decided that grown-ups can’t enjoy a little bit of whimsical fun in their frozen desserts? I, for one, am staging a rebellion against boring ice cream flavors. Let’s reclaim our right to sugary, pink perfection!
This isn’t just any ice cream, my friends. This is a time machine in a bowl. One spoonful of this creamy concoction and you’ll be transported back to your childhood, back to those carefree summer days of chasing ice cream trucks and trading baseball cards. It’s the taste of pure, unadulterated joy, and honestly, who couldn’t use a little more of that in their life?
Why Bubblegum Ice Cream? Because Why Not!
Let’s be honest, the world can be a pretty serious place. Bills, deadlines, existential dread… it’s enough to make you want to hide under the covers with a tub of something… well, something fun! And that’s where bubblegum ice cream comes in. It’s a delicious reminder that it’s okay to be silly, to embrace the absurd, and to indulge in the things that make you smile.
Plus, have you ever seen anyone frown while eating bubblegum ice cream? It’s practically impossible. It’s like a frozen therapy session, guaranteed to lift your spirits and banish the blues. So ditch the doom and gloom, grab a spoon, and prepare for a flavor explosion that will leave you feeling like a kid again. And the best part? You’ll have the satisfaction of knowing you made it from scratch.
The Secret Ingredient: Nostalgia (and a Dash of Magic)
So, what makes this creamy homemade bubblegum ice cream so special? Is it the perfectly balanced sweetness? The velvety smooth texture? The vibrant pink hue that screams “party in your mouth”? Well, yes, all of those things contribute to its awesomeness. But the real secret ingredient is nostalgia.
We’re not just making ice cream here; we’re crafting memories. We’re conjuring up images of birthday parties, summer carnivals, and simpler times when the biggest worry was whether you’d be able to blow a bubble big enough to impress your friends. And that, my friends, is a flavor that no store-bought ice cream can ever replicate. The art of making creamy homemade bubblegum ice cream transcends the act of following a recipe.
Unleashing the Inner Alchemist: Crafting Your Bubblegum Masterpiece
Now, let’s get down to brass tacks. Making your own creamy homemade bubblegum ice cream might sound intimidating, but trust me, it’s easier than parallel parking. With a few simple ingredients and a little bit of patience, you’ll be churning out frozen masterpieces in no time.
First, we’ll whip up a luscious custard base, using fresh milk, cream, and a touch of sugar. This is where the magic begins. Next, we’ll infuse it with the unmistakable flavor of bubblegum. Now, you might be tempted to reach for artificial flavorings, but I urge you to resist! The secret to truly authentic bubblegum flavor lies in… wait for it… bubblegum extract! You can find it online or at specialty baking stores, and it’s a game-changer. A few drops of this magical elixir will transform your custard into a bubblegum wonderland.
And finally, the coup de grâce: the churning. Whether you’re using a fancy ice cream maker or a trusty hand-cranked contraption, the process is the same. Slowly but surely, the liquid custard will transform into a creamy, dreamy, frozen delight. And when it’s ready, you’ll know it. It’ll be the consistency of soft-serve, begging to be scooped into a cone and devoured.
From Kitchen Chaos to Creamy Creation: A Few Words of Wisdom
Before you dive in headfirst, let me share a few pearls of wisdom gleaned from my own bubblegum ice cream adventures.
- **Chill Out (Literally):** The custard base needs to be thoroughly chilled before churning. I’m talking at least four hours, preferably overnight. This will ensure a smoother, creamier final product.
- **Don’t Overdo It:** A little bubblegum extract goes a long way. Start with a small amount and taste as you go. You can always add more, but you can’t take it away!
- **Embrace the Mess:** Making ice cream can be a messy business. Spills happen. Splatters occur. Don’t sweat it! Just roll with it and enjoy the process.
- **Consider adding toppings:** Sprinkles and chocolate syrups can boost the appeal of this awesome dessert.
Remember, this is supposed to be fun! So put on some music, gather your ingredients, and get ready to create a bubblegum masterpiece that will impress your friends, delight your family, and transport you back to your childhood.
Beyond the Bowl: Creative Ways to Enjoy Your Bubblegum Bliss
Okay, so you’ve made a batch of creamy homemade bubblegum ice cream. Now what? Well, besides eating it straight from the container (which is perfectly acceptable, by the way), here are a few creative ways to enjoy your frozen creation:
- **Bubblegum Milkshakes:** Blend a few scoops of ice cream with milk for a super-sweet and totally fun milkshake.
- **Ice Cream Sandwiches:** Sandwich your bubblegum ice cream between two cookies for a delightful handheld treat.
- **Bubblegum Floats:** Pour some clear soda over a scoop of bubblegum ice cream for a bubbly and refreshing float.
The possibilities are endless! So get creative, experiment, and most importantly, have fun. After all, that’s what bubblegum ice cream is all about.
Perfecting the Cooking Process
To make this ice cream just right, prepare the custard base first. Then, thoroughly chill it to ensure the mixture churns smoothly. Finally, churn the base until it reaches a soft-serve consistency for optimal freezing. This way you avoid common pitfalls in making creamy homemade bubblegum ice cream.
Add Your Touch
Want to make it your own? Try adding mini chocolate chips for a contrasting flavor and texture. You can also swirl in some raspberry jam for a fruity twist. Experiment and customize your creamy homemade bubblegum ice cream.
Storing & Reheating
Store your homemade bubblegum ice cream in an airtight container in the freezer to prevent freezer burn. Unlike other dishes, no reheating is necessary. Just scoop directly from the freezer and enjoy the refreshing coolness.
Here are some extra tips to really nail this recipe:
- Use high-quality dairy for the richest, creamiest texture; the better the ingredients, the better the creamy homemade bubblegum ice cream.
- If you’re using an ice cream maker, make sure the bowl is completely frozen before churning to prevent icy crystals from forming.
- For a more intense bubblegum flavor, add a few drops of pink food coloring along with the bubblegum extract for a visual treat.
(Personal anecdote formated as paragraph subheading (very important! don’t write any title for this paragraph))
I remember one time, I accidentally added too much bubblegum extract. The result? An intensely flavored ice cream that turned everyone’s tongues bright pink! It was a hilarious, sugary success!
Conclusion for Creamy Homemade Bubblegum Ice Cream :
So there you have it – a simple and delightful way to whip up your very own Creamy Homemade Bubblegum Ice Cream. It’s a nostalgic treat that’s perfect for hot summer days, birthday parties, or anytime you’re craving a touch of childhood sweetness. Don’t be afraid to experiment with mix-ins and flavor variations to make it truly your own. Grab your ingredients, get churning (or stirring!), and prepare to be transported back to carefree days with every delicious spoonful. Enjoy your sweet, homemade creation!
Print
Creamy Homemade Bubblegum Ice Cream
Delicious creamy homemade bubblegum ice cream recipe with detailed instructions and nutritional information.
- Total Time: 35 minutes
- Yield: 4 servings
Ingredients
- Heavy Cream: 2 cups
- Whole Milk: 1 cup
- Granulated Sugar: 3/4 cup
- Bubblegum Extract: 1 teaspoon
- Pink Gel Food Coloring: Few drops (adjust to desired color)
- Salt: 1/4 teaspoon
- Chewing Gum (Bubblegum flavor): 1/2 cup, cut into small pieces
- Vanilla Extract: 1/2 teaspoon
Instructions
- Step 1: In a medium saucepan, combine heavy cream, whole milk, sugar, and salt. Heat over medium heat, stirring constantly, until the sugar is completely dissolved. Do not boil.
- Step 2: Remove the saucepan from the heat and stir in the bubblegum extract and vanilla extract. Add a few drops of pink gel food coloring, stirring until you reach your desired shade of pink.
- Step 3: Pour the mixture into a bowl, cover it tightly with plastic wrap (pressing the wrap directly onto the surface of the mixture to prevent a skin from forming), and refrigerate for at least 4 hours, or preferably overnight. This allows the mixture to chill thoroughly.
- Step 4: Once the mixture is chilled, pour it into your ice cream maker and churn according to the manufacturer's instructions.
- Step 5: During the last few minutes of churning, add the chopped bubblegum pieces to the ice cream maker. This will distribute the gum throughout the ice cream.
- Step 6: Transfer the ice cream to an airtight container and freeze for at least 2 hours to harden before serving.
Notes
- To prevent ice crystals from forming, press plastic wrap directly onto the ice cream's surface before freezing for longer storage.
- This ice cream is best enjoyed straight from the freezer, but if it's too hard, let it sit at room temperature for just a few minutes to soften slightly.
- Serve this whimsical ice cream in waffle cones with colorful sprinkles for extra fun.
- For the best bubblegum flavor, add a touch more extract if you prefer a stronger taste, but start with the recommended amount and adjust carefully.
- Prep Time: 15 minutes
- Cook Time: 20 minutes
- Method: Stovetop
- Cuisine: American
FAQs :
Can I make Creamy Homemade Bubblegum Ice Cream without an ice cream maker?
Absolutely! While an ice cream maker makes the process smoother, you can still achieve fantastic results without one. Simply pour the prepared mixture into a freezer-safe container and freeze. Every 30-60 minutes for the first few hours, take it out and give it a good stir to break up any ice crystals that form. This will help keep your Creamy Homemade Bubblegum Ice Cream smooth and prevent it from becoming a solid block of ice. It requires a bit more effort, but the deliciousness is worth it.
What gives Creamy Homemade Bubblegum Ice Cream its bubblegum flavor?
The secret to that authentic bubblegum taste lies in using bubblegum extract. You can find this at most specialty baking stores or online. It’s a concentrated flavoring that captures the nostalgic essence of your favorite childhood treat. Start with a small amount, taste, and adjust to your preference. Remember, a little goes a long way! Don’t overdo it, or you’ll end up with something that tastes like you’re chewing a whole pack of gum at once, which, trust me, isn’t as fun as it sounds.
How do I store Creamy Homemade Bubblegum Ice Cream properly?
Proper storage is key to maintaining that perfect Creamy Homemade Bubblegum Ice Cream texture. Transfer the ice cream to an airtight, freezer-safe container as soon as it’s ready. Press a piece of parchment paper directly onto the surface of the ice cream before sealing the lid. This helps prevent ice crystals from forming on top, ensuring a smooth and creamy scoop every time. It will last for about two weeks in the freezer, but let’s be honest, it probably won’t last that long!
Can I add other mix-ins to my bubblegum flavored ice cream?
Of course! Get creative! While the classic bubblegum flavor is fantastic on its own, feel free to add other mix-ins to personalize your Creamy Homemade Bubblegum Ice Cream. Think colorful sprinkles, mini marshmallows, or even chopped pieces of bubblegum (for the truly adventurous!). Just remember to add your mix-ins during the last few minutes of churning (or during the last stir if you’re making it without an ice cream maker) to ensure they’re evenly distributed throughout the ice cream. Experiment and have fun with it!


Leave a Comment