
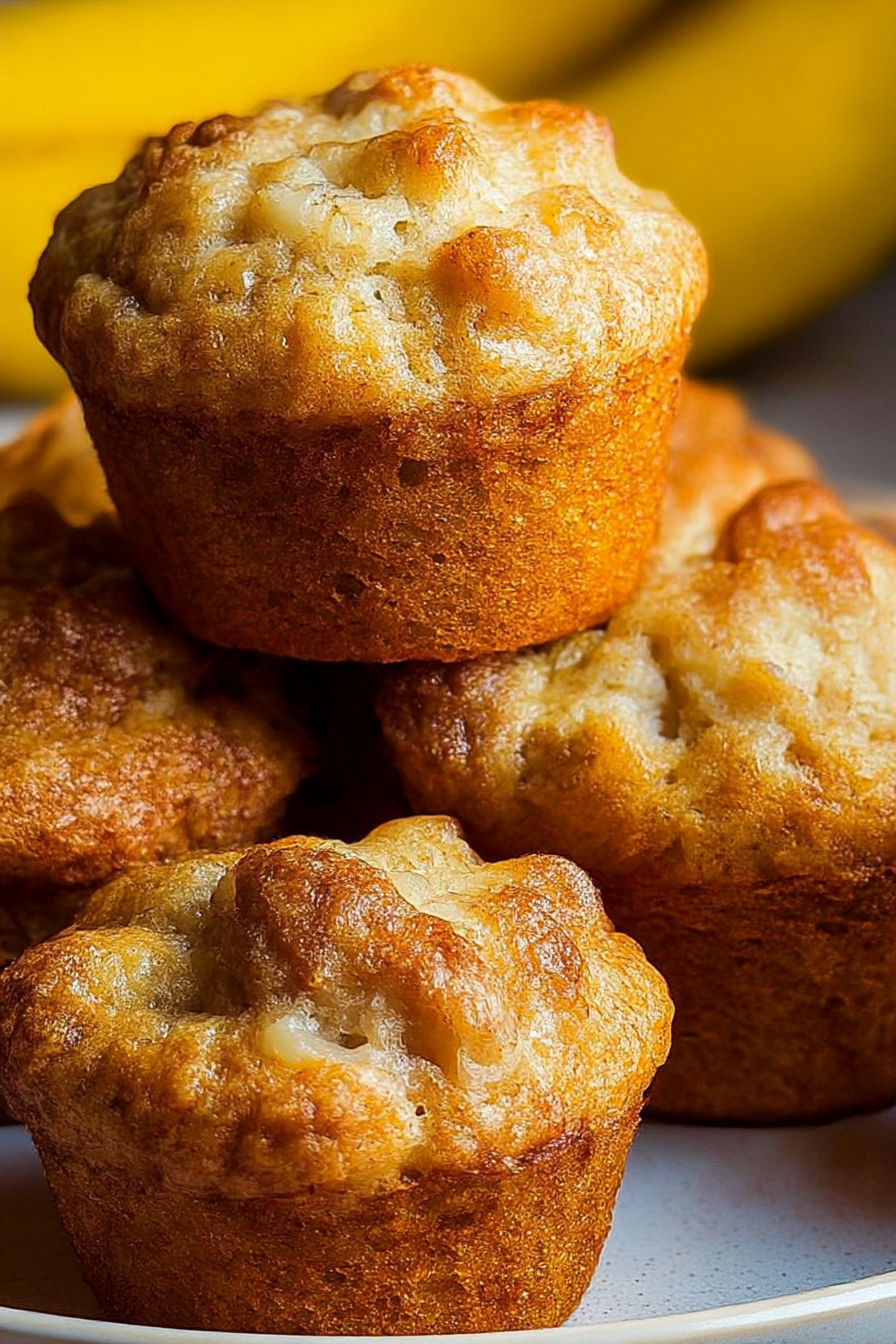
Imagine biting into a warm, fluffy cloud of banana goodness, a symphony of sweet and comforting flavors dancing on your tongue. These Bisquick Banana Muffins are the answer to your breakfast, brunch, or anytime-you-need-a-little-sunshine cravings.
They’re so easy to whip up, you might just find yourself making them every single weekend. Trust me, these muffins will disappear faster than you can say “banana bonanza.”
Here are a few reasons why these Bisquick Banana Muffins are about to become your new favorite:
- Effortless preparation makes these muffins perfect for busy mornings or impromptu baking sessions, ready in under 30 minutes.
- The delightful blend of ripe bananas, cinnamon, and nutmeg creates a warm, comforting flavor that everyone will adore.
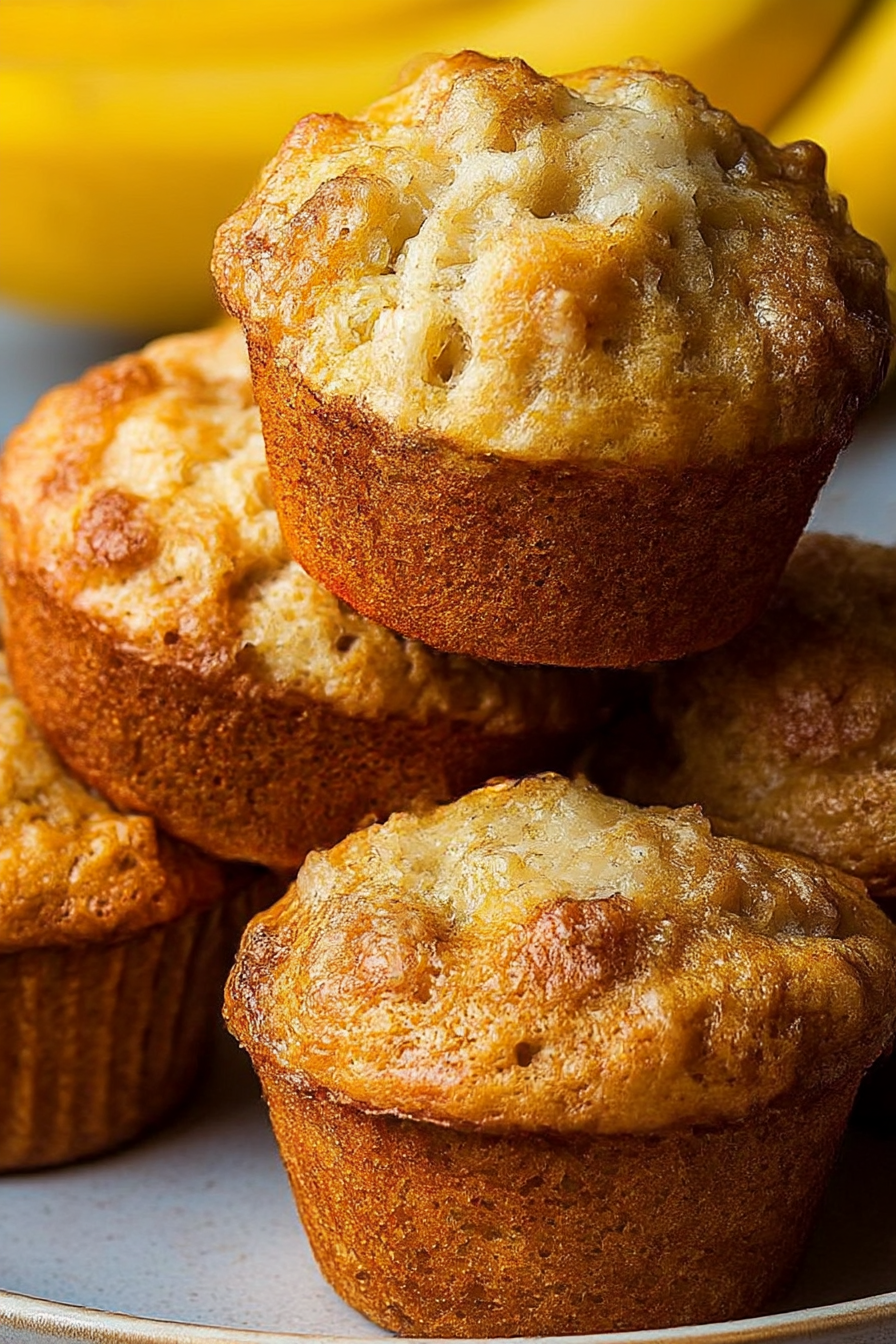
- Their golden-brown tops and moist interiors make these muffins visually appealing, perfect for serving to guests or enjoying as a treat.
- Customize with your favorite mix-ins like walnuts, chocolate chips, or a streusel topping to create endless variations of this versatile recipe.
Ingredients for Bisquick Banana Muffins
Here’s what you’ll need to make this delicious dish:
The full ingredients list, including measurements, is provided in the recipe card directly below.
How to Make Bisquick Banana Muffins
Follow these simple steps to prepare this delicious dish:
Step 1: Get Ready to Bake!
Preheat your oven to 375°F (190°C). Grease or line a 12-cup muffin tin. This prevents the muffins from sticking and ensures easy removal.
Step 2: Mash Those Bananas!
In a large bowl, mash the ripe bananas until smooth. A few small lumps are perfectly fine, they add character!
Step 3: Mix the Wet Ingredients
Add the eggs, milk, sugar, and Alcohol-free vanilla extract to the mashed bananas. Whisk until well combined, creating a smooth and luscious mixture.
Step 4: Incorporate the Dry Ingredients
Gradually add the Bisquick baking mix, cinnamon, and nutmeg to the wet ingredients. Gently fold until just combined. Be careful not to overmix, as this can result in tough muffins.
Step 5: Fill the Muffin Cups
Spoon the batter into the prepared muffin tin, filling each cup about two-thirds full. This allows room for the muffins to rise without overflowing.
Step 6: Bake to Golden Perfection
Bake for 18-20 minutes, or until a toothpick inserted into the center comes out clean. Let the muffins cool in the tin for a few minutes before transferring them to a wire rack to cool completely.
Enjoy these warm Bisquick Banana Muffins with a dollop of whipped cream or a sprinkle of powdered sugar for the perfect finishing touch.
Perfecting the Cooking Process
For the most scrumptious results, prep all ingredients before you begin. Whisk the wet ingredients, then gently fold in the dry. Don’t overmix; a few lumps are okay! Preheat your oven accurately for even baking.
Add Your Touch
Feel free to get creative! Toss in some chocolate chips or chopped walnuts. A dash of cinnamon or nutmeg adds warmth. For a tangier flavor, substitute buttermilk for regular milk.
Storing & Reheating
Store these muffins in an airtight container at room temperature for up to three days. To reheat, pop them in the microwave for 15-20 seconds or warm them in a low oven.
Chef’s Tips for Heavenly Muffins
- Don’t overmix the batter! It’s the secret to light and fluffy muffins, not dense hockey pucks. Gentle folding is key to avoid developing too much gluten.
- Use ripe, but not overly ripe, bananas. They’ll give you the best flavor and natural sweetness, creating that perfect banana-y goodness.
- Fill the muffin liners evenly! This ensures that all your muffins bake at the same rate and look uniform. Nobody wants a leaning tower of muffin!
(Personal anecdote formated as paragraph subheading)
My kids declared these muffins “the best ever” after I added a streusel topping. Now, it’s a non-negotiable addition every single time I bake them!
Conclusion for Bisquick Banana Muffins :
These Bisquick Banana Muffins are a guaranteed crowd-pleaser. With their simple preparation and universally loved flavor, they’re perfect for busy mornings or a comforting afternoon treat. Remember the secret weapon: ripe bananas! Feel free to customize the recipe with your favorite mix-ins for an even more personal touch. From moistness to tasty toppings, every aspect is designed for muffin perfection. Enjoy the simple joy of baking and the smiles these muffins bring!
Print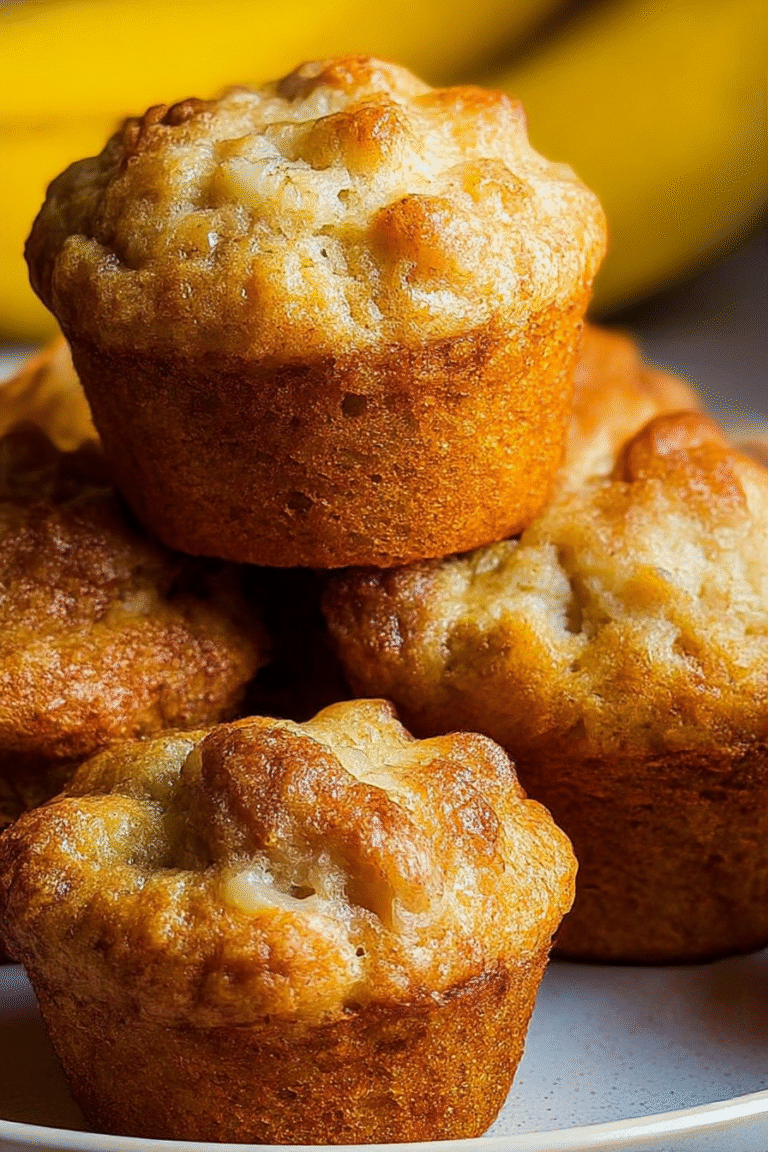
Bisquick Banana Muffins
Delicious bisquick banana muffins recipe with detailed instructions and nutritional information.
- Total Time: 35 minutes
- Yield: 4 servings 1x
Ingredients
- 2 cups Bisquick baking mix
- 1 cup mashed ripe bananas (about 2–3 medium)
- 1/2 cup milk
- 1/4 cup vegetable oil
- 1/4 cup granulated sugar
- 1 large egg
- 1/2 teaspoon vanilla extract
- 1/4 cup chopped walnuts or pecans (optional)
Instructions
- Step 1: Preheat oven to 375°F (190°C). Grease or line a 12-cup muffin tin with paper liners.
- Step 2: In a large bowl, combine the Bisquick, mashed bananas, milk, vegetable oil, sugar, egg, and vanilla extract. Mix until just combined. Do not overmix.
- Step 3: Gently fold in the chopped walnuts or pecans, if using.
- Step 4: Spoon the batter into the prepared muffin tin, filling each cup about 2/3 full.
- Step 5: Bake for 18-20 minutes, or until a wooden skewer inserted into the center comes out clean.
- Step 6: Let the muffins cool in the tin for a few minutes before transferring them to a wire rack to cool completely.
Notes
- Store cooled muffins in an airtight container at room temperature for up to 3 days or in the freezer for longer storage.
- For a warm, bakery-fresh taste, reheat muffins in the microwave for 10-15 seconds.
- Serve these muffins with a dollop of cream cheese or a drizzle of honey for an extra touch of sweetness.
- For a richer flavor, lightly brown your nuts in a dry skillet before adding them to the batter.
- Prep Time: 15 minutes
- Cook Time: 20 minutes
- Method: Stovetop
- Cuisine: American
FAQs :
Can I use overripe bananas for these Bisquick Banana Muffins?
Absolutely! In fact, overripe bananas are *ideal* for making banana muffins. Those spotty, almost-too-far-gone bananas are packed with concentrated sweetness and moisture, which will give your muffins a richer flavor and a wonderfully tender crumb. The riper, the better! Just mash them up well with a fork before adding them to the Bisquick mixture. This is a great way to use bananas that might otherwise end up in the trash, turning potential waste into delicious treats. Consider it a baking win-win!
How do I keep my Bisquick Banana Muffins moist?
To keep your muffins moist, avoid overbaking them. Check for doneness by inserting a toothpick into the center; it should come out with just a few moist crumbs attached. Also, once cooled slightly, store the muffins in an airtight container or a zip-top bag. You can even add a tablespoon of applesauce or Greek yogurt to the batter for extra moisture if you’re feeling adventurous. Remember, a little extra moisture goes a long way in maintaining that soft and delightful texture we all crave!
Can I add nuts or chocolate chips to my Bisquick Banana Muffins?
Oh, you absolutely can! Feel free to get creative with your mix-ins. Walnuts or pecans would add a lovely crunch, while chocolate chips (dark, milk, or even white!) would make these muffins even more decadent. About half a cup of chopped nuts or chocolate chips should be perfect. Just gently fold them into the batter before pouring it into the muffin tin. Consider toasting the nuts before adding them to deepen their flavor. The possibilities are endless when it comes to customizing your muffins!
How should I store my homemade Bisquick Banana Muffins?
Once your muffins are completely cooled, the best way to store them is in an airtight container at room temperature. They’ll stay fresh and delicious for up to three days. If you want to keep them longer, you can store them in the refrigerator for up to a week, but they might become slightly drier. For longer storage, consider freezing them. Wrap each muffin individually in plastic wrap, then place them in a freezer-safe bag. They’ll keep in the freezer for up to two months. Just thaw them at room temperature before enjoying!


Leave a Comment